
TL;DR:
- A homemade dog treat workflow involves selecting safe ingredients, precise measuring, baking or dehydrating, and proper storage to ensure treat safety and shelf stability. Following a consistent process with the right tools and moisture control techniques produces treats that are both safe and enjoyable for dogs over time. Proper storage and dehydration are essential to prevent mold growth and extend the treats’ freshness without preservatives.
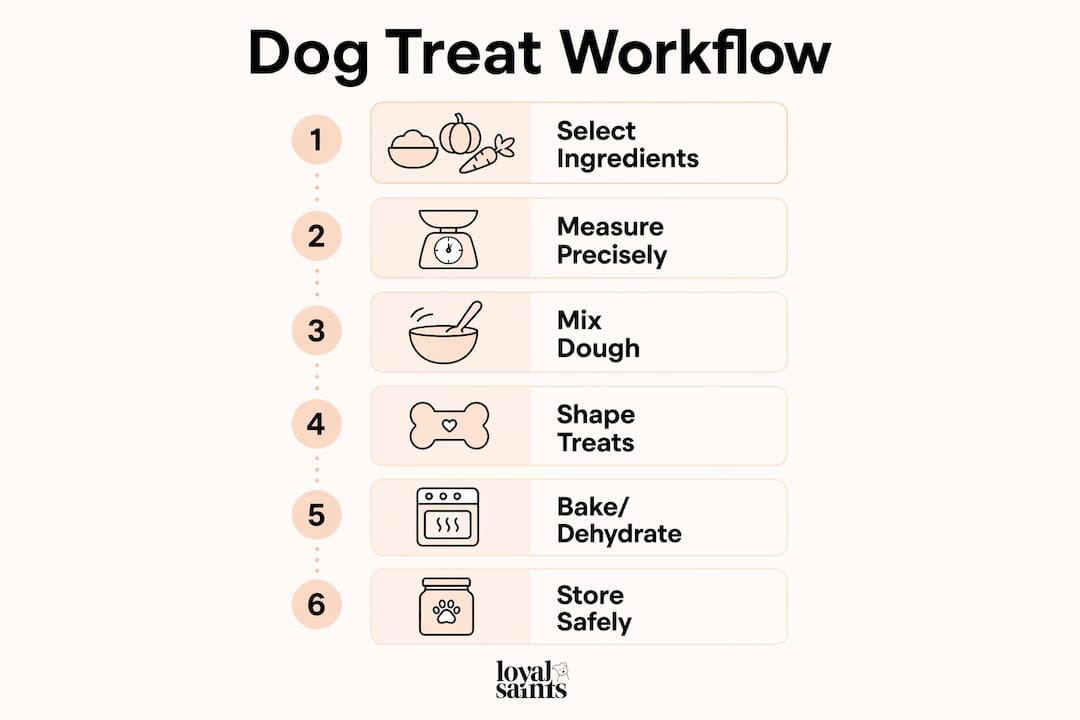
A homemade dog treat workflow is the organized process of selecting safe ingredients, preparing and shaping dough, baking or dehydrating, and storing treats so they stay healthy and shelf-stable for your dog. Think of it as the dog treat making process that separates a batch of crumbly, stale biscuits from one your pup actually looks forward to. When you follow a repeatable system, you control every ingredient, avoid harmful additives, and produce consistent results every single time. Loyalsaintspets believes that what goes into your dog’s body matters as much as how it’s made. This complete homemade dog treat guide walks you through every stage, from gathering tools to long-term storage.
What does a homemade dog treat workflow actually involve?
A homemade dog treat workflow covers six stages: ingredient selection, measurement, mixing, shaping, baking or dehydrating, and storage. Each stage connects directly to the next. Skip one, and you risk soft treats that mold within days or hard biscuits your dog refuses to eat.
The workflow borrows principles from USDA and FDA food safety guidelines for home food production. Those principles include controlling moisture, managing temperature, and preventing cross-contamination. You do not need a commercial kitchen to apply them. You just need a clear process and the right tools.
Consistency is the real payoff. When you repeat the same steps in the same order, you can troubleshoot problems, scale up batches, and confidently share treats with other dog owners. That repeatability is what separates a reliable DIY dog treat idea from a one-time experiment.
What tools and ingredients do you need before you start?
The right equipment makes the dog treat preparation guide much easier to follow. You do not need expensive gear, but a few key tools prevent the most common mistakes.
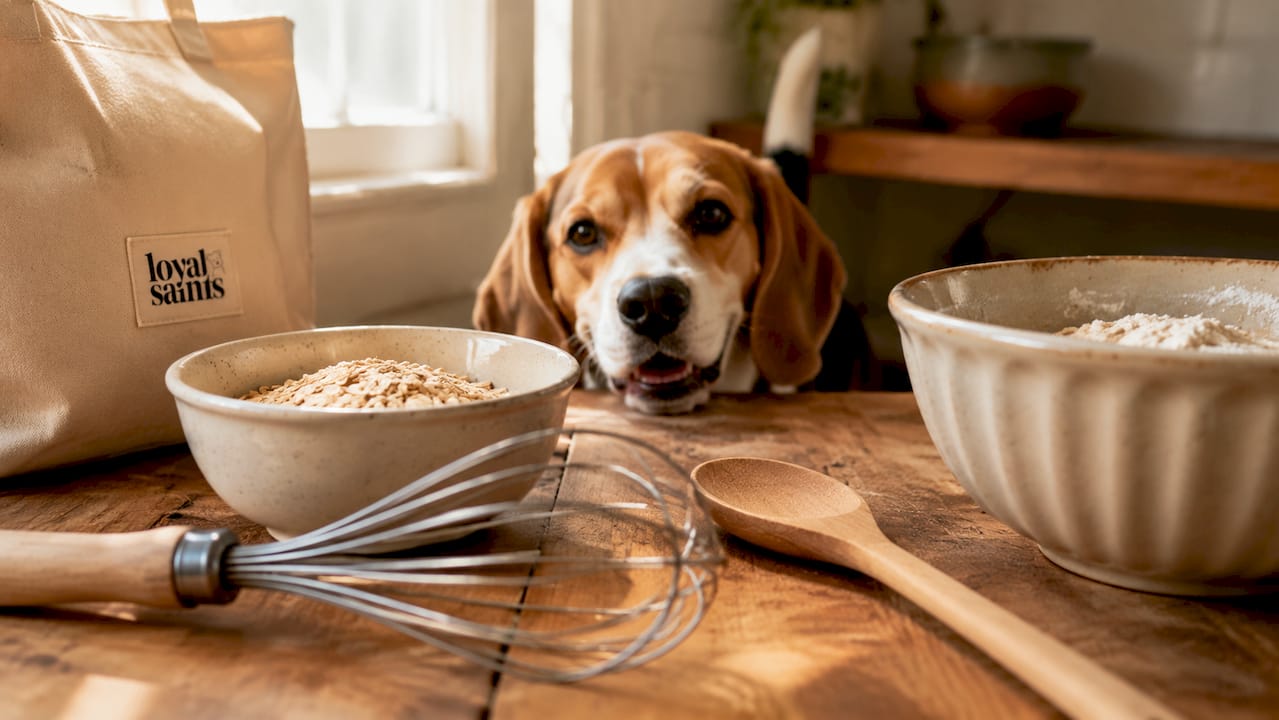
Essential kitchen tools
| Tool | Purpose | Why it matters |
|---|---|---|
| Kitchen scale | Weigh ingredients in grams | Reduces texture variation and spoilage risk |
| Oven thermometer | Verify actual oven temperature | Prevents uneven baking and microbial risk |
| Mixing bowls | Combine wet and dry ingredients | Keeps prep organized and clean |
| Measuring spoons | Portion small amounts | Useful for spices, baking powder, and oils |
| Baking sheets | Hold shaped treats during baking | Flat surface promotes even heat distribution |
| Cookie cutters | Shape dough uniformly | Uniform size means uniform bake time |
| Food dehydrator (optional) | Remove residual moisture after baking | Extends shelf life without preservatives |
Pro Tip: Always calibrate your oven before the first batch. Preheat for at least 20–25 minutes with an NSF-certified oven thermometer placed in the center rack. Most home ovens run 25°F hotter or cooler than the dial shows.
Safe and healthy ingredients
The best easy dog treat recipes use whole, single-source ingredients your dog’s digestive system can handle. Common safe choices include:
- Pumpkin puree (plain, not pie filling): supports digestion and adds moisture
- Natural peanut butter (xylitol-free): adds protein and palatability
- Rolled oats: a gentle grain that binds dough without wheat
- Eggs: bind ingredients and add protein
- Whole wheat flour or oat flour: structure for baked biscuits
- Unsweetened applesauce: natural sweetener with fiber
- Lean ground meat (chicken, beef, turkey): protein-rich base for meat-based treats
Always check for allergens specific to your dog. If your dog has a known grain sensitivity, swap wheat flour for oat flour or chickpea flour. Ingredient quality matters too. Use the same standard you would apply to your own food.
How do you follow the step-by-step dog treat making process?
Making dog treats at home is straightforward when you break it into clear steps. Weighing ingredients by grams rather than using cups or spoons produces far more consistent texture, bake times, and shelf life across every batch.
The full baking workflow
-
Gather and weigh all ingredients. Use a kitchen scale for every component, including liquids. Record the exact weights in a notebook or spreadsheet.
-
Preheat your oven. Set it to your target temperature and let it stabilize for at least 20–25 minutes. Place your oven thermometer in the center of the rack.
-
Mix dry ingredients first. Combine flour, oats, and any dry spices in a large bowl. Mixing dry ingredients separately prevents clumping.
-
Add wet ingredients. Pour in pumpkin, peanut butter, eggs, or broth. Stir until a firm dough forms. The dough should not stick to your hands. If it does, add a tablespoon of flour at a time.
-
Roll and cut. Roll dough to about ¼-inch thickness on a lightly floured surface. Cut with uniform cookie cutters. Recipes using 1.5-inch cutters typically yield 60 or more treats per batch.
-
Bake at 300°F–350°F for 15–40 minutes. Baking at this range produces a crunchy texture and kills surface pathogens. Thicker treats need the full 40 minutes. Thinner treats finish closer to 15–20 minutes.
-
Apply dual-phase processing for shelf stability. After baking, run treats through a food dehydrator at 175°F for 2–3 hours. Dual-phase processing first kills surface bacteria during baking, then removes bound water during dehydration. This step is what makes treats shelf-stable without preservatives.
-
Cool completely before packaging. Place treats on a wire rack and let them cool for at least one hour. Packaging warm treats traps steam and creates the exact moisture conditions that cause mold.
-
Record your batch details. Write down ingredient brands, exact weights, oven temperature, bake time, and dehydration time. Batch records let you replicate successful batches and fix problems in future ones.
Pro Tip: Small ovens have hot spots near the back corners. Rotate your baking sheet 180 degrees at the halfway point to get even browning across every treat.
The dual-phase approach is the single biggest upgrade most home bakers skip. Baking alone leaves residual moisture in the center of thicker treats. Dehydration removes that moisture and locks in a shelf-stable texture.
How do you store homemade dog treats safely?
Treat homemade dog treats as perishable food, not shelf-stable snacks. Fats in homemade treats oxidize within 72 hours if not stored correctly, producing rancid off-flavors and potentially harmful compounds. Proper storage is not optional.
The key metric is water activity (aw). Water activity above 0.60 allows mold to grow within 48 hours. Keeping aw at or below 0.60 is the target for any treat you plan to store at room temperature. Learn more about water activity vs. moisture content and why the distinction matters for your dog’s safety.
Treats that achieve at least 22% mass loss during dehydration reach a safe moisture level for short-term pantry storage. Weigh a sample treat before and after dehydration to confirm you hit that benchmark.
Best storage practices
- Pantry storage: Up to 1–2 weeks in an airtight container in a cool, dry spot away from sunlight.
- Refrigerator storage: Up to 4–6 weeks in a sealed container or zip bag. Refrigerated treats last significantly longer than pantry-stored ones.
- Freezer storage: Several months in oxygen-barrier freezer bags. Portion into weekly servings before freezing so you thaw only what you need.
- Oxygen-barrier packaging: Use mylar bags or vacuum-sealed pouches for any batch you plan to store longer than two weeks.
- Desiccant packets: Add a food-safe silica gel packet inside storage bags to absorb ambient humidity.
- Labeling: Write the batch date, recipe name, and key ingredients on every bag. This habit protects dogs with allergies and helps you track freshness.
“Many people assume ‘homemade’ automatically means safe for long-term storage. Water activity and moisture control are what actually determine safety and mold prevention, not the absence of commercial preservatives.”
For more on safe treat packaging methods, the same principles that apply to freeze-dried foods translate directly to homemade baked treats.
How do you fix common homemade dog treat problems?
Even careful bakers run into issues. The good news is that most problems in the dog treat making process have a direct, fixable cause.
- Soft or chewy treats after cooling: The treats did not lose enough moisture. Run them back through the dehydrator at 175°F for an additional hour and recheck texture.
- Uneven browning: Your oven has hot spots. Use an oven thermometer, rotate the pan halfway through baking, and avoid placing sheets too close to heating elements.
- Mold within a few days: Moisture was too high at packaging, or the storage container was not airtight. Confirm your treats hit the 22% mass loss benchmark before storing.
- Rancid smell after a week: Fat oxidation occurred. Switch to oxygen-barrier bags, add a desiccant packet, and move storage to the refrigerator.
- Crumbly texture that falls apart: The dough was too dry during mixing, or the bake time was too long. Reduce bake time by 5 minutes and add a tablespoon of wet binder like pumpkin or egg.
- Inconsistent results batch to batch: You are measuring by volume instead of weight. Switch to a kitchen scale and record every gram.
Pro Tip: Keep a simple batch log with five fields: date, recipe, ingredient weights, oven temp, and bake time. After three or four batches, patterns become obvious and fixing problems takes minutes instead of guesswork.
Scaling up a recipe multiplies both the benefits and the risks. When you double a batch, bake time may increase by 5–10 minutes because the oven recovers heat more slowly. Always test a small batch first when changing quantities.
Key Takeaways
A reliable homemade dog treat workflow requires precise measurement, dual-phase processing, and moisture-controlled storage to produce safe, consistent treats your dog will love.
| Point | Details |
|---|---|
| Weigh every ingredient | Use a kitchen scale in grams to get consistent texture and bake times across every batch. |
| Calibrate your oven | Preheat 20–25 minutes with an oven thermometer to avoid uneven baking and safety risks. |
| Use dual-phase processing | Bake first to kill pathogens, then dehydrate to remove bound water for shelf stability. |
| Control water activity | Keep aw at or below 0.60 and confirm at least 22% mass loss after dehydration. |
| Keep batch records | Log ingredient weights, temps, and times so you can replicate success and fix problems fast. |
What I’ve learned from making dog treats the hard way
I spent two years making dog treats before I took moisture control seriously. My early batches looked great coming out of the oven. A week later, half of them had a faint musty smell I kept dismissing as “just the peanut butter.” It was mold. Not visible, not dramatic, but real.
The turning point was treating each batch like a small food production run instead of a casual baking project. That meant a kitchen scale, an oven thermometer, and a dehydrator. It also meant writing things down. Once I started logging batch weights before and after dehydration, I realized my treats were only losing 12–15% of their mass. The target is 22% or more. No wonder they were going soft.
What surprised me most was how much the storage step mattered. Switching to oxygen-barrier bags with a desiccant packet extended freshness from a week to nearly a month. That one change made the whole workflow worth the effort.
The joy of making homemade pet snacks is real. Watching your dog light up over something you made from scratch, knowing exactly what went into it, is genuinely satisfying. But that joy is only sustainable when the treats are actually safe. Precision is not the enemy of fun. It is what makes the fun repeatable.
— Kristina
Natural treat options worth keeping on hand
Building a solid treat routine at home takes time and practice. On busy weeks, or when you want a convenient backup with the same commitment to clean ingredients, Loyalsaintspets has you covered.
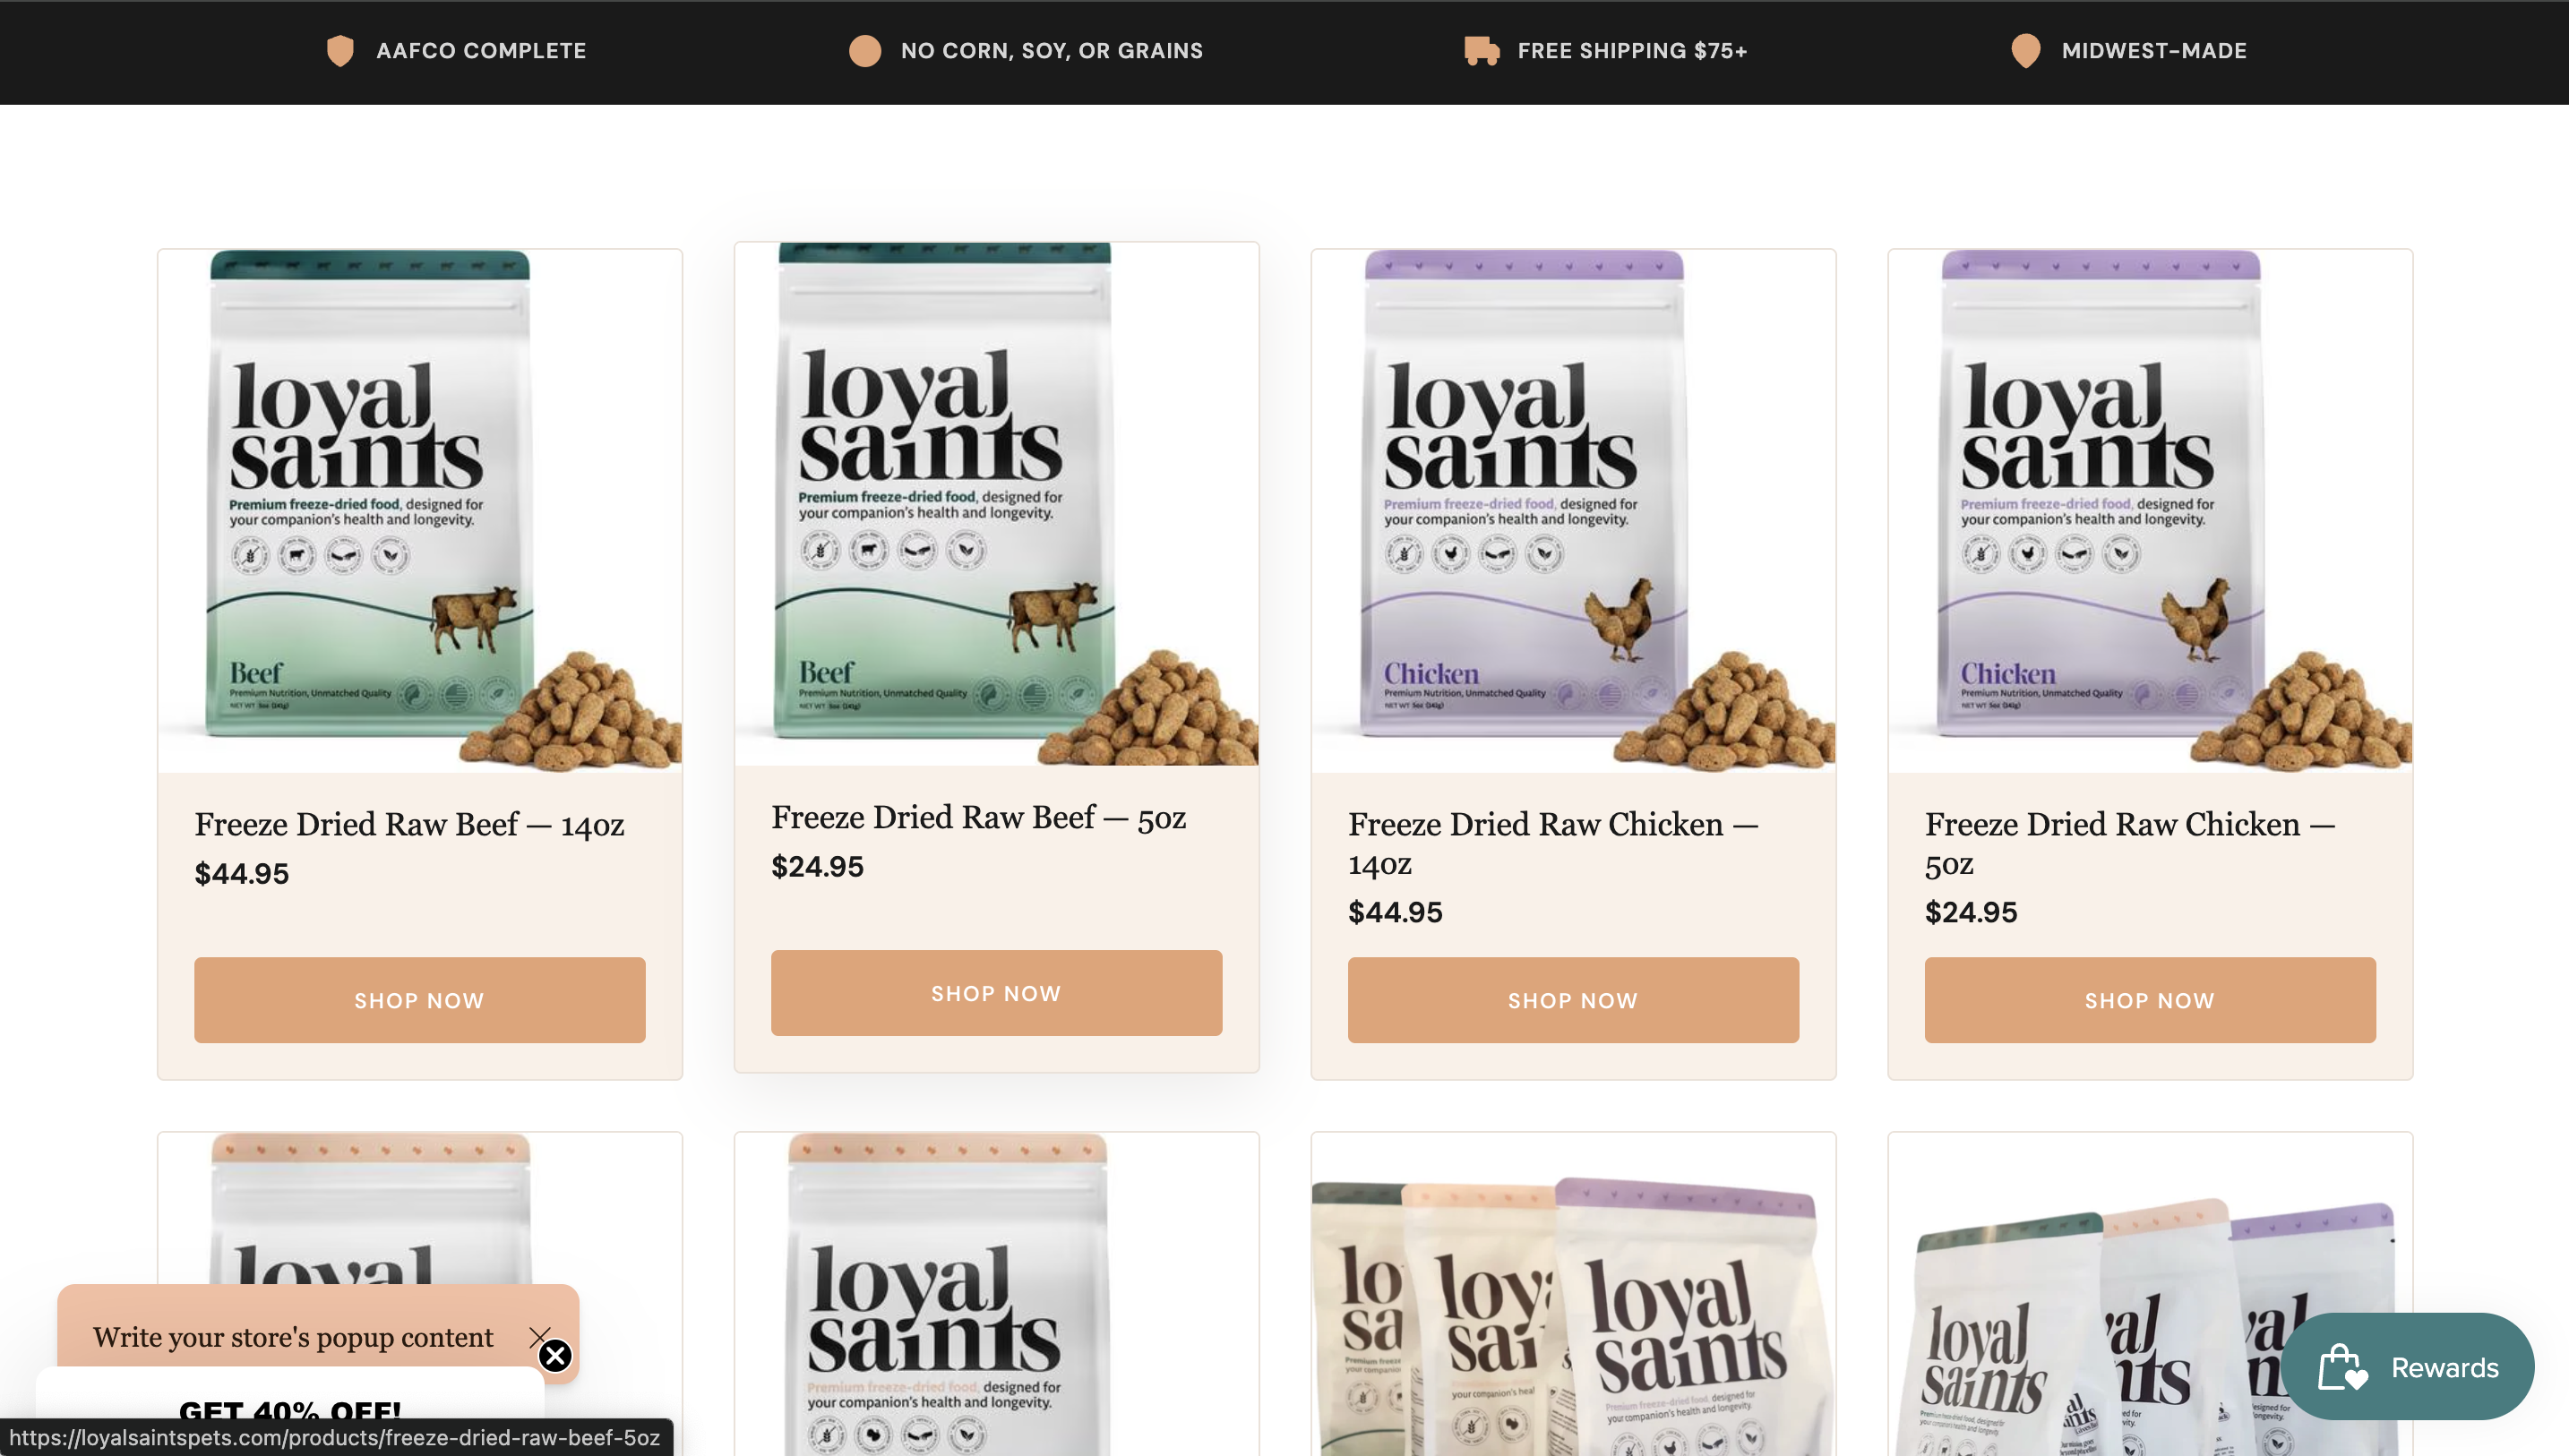
Loyalsaintspets freeze-dried raw chicken and freeze-dried raw beef are made from single-source, human-grade proteins with no fillers, additives, or artificial preservatives. They carry a naturally long shelf life because freeze-drying removes moisture at the source, the same principle behind the dual-phase processing you use at home. They are easy to store, easy to portion, and dogs go absolutely wild for them. Keep a bag alongside your homemade batches for training sessions, travel, or any day when the oven stays off.
FAQ
What is a homemade dog treat workflow?
A homemade dog treat workflow is the full process of selecting ingredients, measuring, mixing, baking or dehydrating, and storing treats in a repeatable sequence. Following a set workflow produces consistent, safe results every time.
How long do homemade dog treats last without preservatives?
Without preservatives, homemade treats last 1–2 weeks at room temperature, 4–6 weeks refrigerated, and several months frozen. Proper moisture control and airtight packaging are required to reach those limits.
What temperature should I bake homemade dog treats at?
Bake homemade dog treats at 300°F–350°F for 15–40 minutes depending on thickness. This range produces a crunchy texture and kills surface pathogens.
Why do my homemade dog treats go moldy so fast?
Mold grows when water activity exceeds 0.60. Treats that did not lose at least 22% of their mass during dehydration retain too much moisture. Extend dehydration time and use airtight, oxygen-barrier packaging.
Do I need a dehydrator to make homemade dog treats?
A dehydrator is not required for basic baked treats, but it significantly extends shelf life. After baking, a dehydrator removes residual bound water that baking alone cannot eliminate, making treats shelf-stable for weeks instead of days.


